Save Time Using Photoshop Smart Objects
Those who are familiar with CSS and PHP know how good it is to only change one line and see all changes propagate through the elements you’ve changed.Well, today we’ll see how to do something similar to this with Photoshop, so when your client asks you to change your background from 90% black to 92.37% black you can do it in no time.
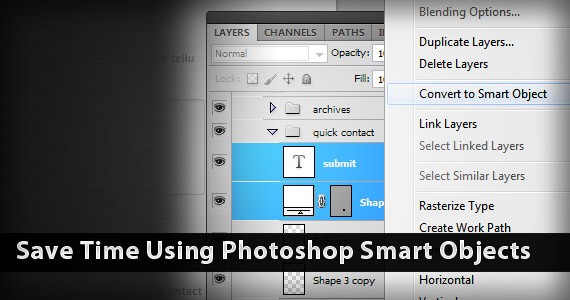
What are Smart Objects?
First of all, it is nice to know about the basics. Smart Objects are layers that store data as external sources, so you can make use of them in your document non destructively.Think about them as one file linked with a layer, so if you make any changes to the layer (rotate, distort, apply filters and effects and many other things) your source file remains intact and you can always go back to the original version, but if you change your original source it will affect all layers that point to this “file”.
Another important feature is that you can have several smart objects pointing to the same source. So if you have, for example, a button that is repeated 10 times, you can make all those layers point to the same source, and when you change the source you’ll change all of them automatically (you can also make them not to propagate these changes by copying as new smart object, but we have to talk about this another time).
Finally, this is a nice feature also for the front-end developer since it makes much easier to keep transparency and a lot of other effects when you export objects to make better use of CSS techniques (and save time, of course).
Some use cases
We’ll use the cubicle free psd theme as our base theme so we will just edit it here in order to have a “smarter” approach. Also, all these techniques are much easier to do when you’re just starting your project, of course, so don’t worry too much if something just looks like it’ll need a work.How to create smart objects, and our first smart button
First of all, let’s see how to create a smart object. You just have to select the elements you want to be part of the smart object source, right click them and select “Convert to Smart Object” as follows. After that a different icon will be shown, and you’ll know that it is definitely a Smart Object.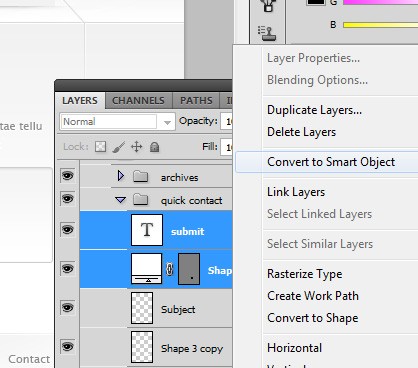
Now we need to copy this element to use it in other places. Just press CTRL+J and you’ll have another smart object from the same source as the original, so if you change one you’ll change all of them.
Now let’s edit this button. So double click in the item’s icon and you’ll open the smart object as a Photoshop file.
Easier Color Palette
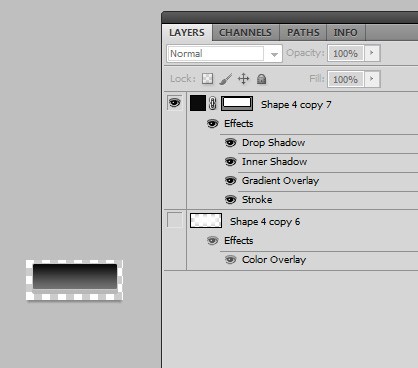
So let’s say you like to try out all possible combinations before defining the best one. It is pretty hard to try out a lot of color combinations when you do it in the traditional way (layer fill). Well, but if you do it via smart objects it’ll be really easy to try out more and more combinations.Again, looking at our sample layout, we don’t have many colors but almost any element there is orange. So let’s pick up the non-textual element and use this technique. This will be the changed objects:
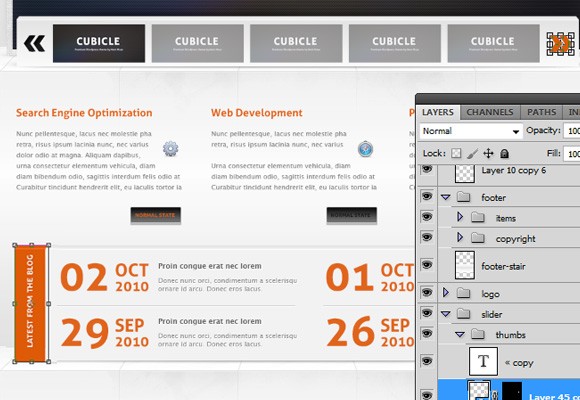
Now you need to use this smart object square as background for anything you do. When you change the color of this smart object, all the elements that share this color will be updated also.
For example, to get the arrow the easiest way that I thought is to make it as a mask for our color smart object, via add vector mask tool (bottom of layer panel).
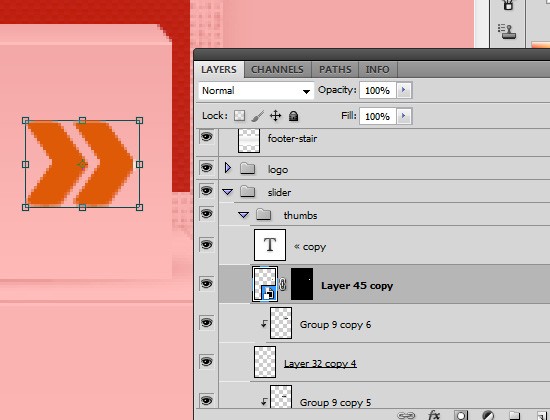
To get the box you’ll need 3 elements:
- Bigger Box - just resize the smart object
- “Angular” shadow – distort and resize your object
- Pixel perfect light effect – resize the basic smart object and then apply color overlay effect with blend mode overlay, opacity 60% and color #fff.

Marker, icons and “Photoshop Spriting”
You could also do all your icon set, markers or even text styles via Smart Objects. You’ll add them all in the same source and then do what I call “Photoshop Spriting”. I call it this because it has the same logic as CSS Sprites. All elements will be in a part of the smart object but you’ll just hide others with layer masks, as we’ve done with the arrow.So, let’s say you have three icons from the same set (SEO, Web Development and print design) you just have to merge them all as one smart object, and when you use one, you’ll have to hide others. For the first icon your mask will look like this (hidden content shown in red area):

No comments:
Post a Comment
Do you think it could be useful for you? Share your thoughts with us!